A leaky faucet is not only annoying, but it can also waste a significant amount of water and drive up your water bill. Fortunately, fixing a leaky faucet is a relatively simple task that you can often do yourself without calling a plumber. This step-by-step guide will show you how to fix a leaky faucet and save yourself some money.
First, turn off the water supply to your faucet. There are typically two valves beneath the sink: one for hot water and one for cold. Turning these valves clockwise will shut off the water flow to your faucet. Once the water is off, turn on the faucet to drain any remaining water in the lines.
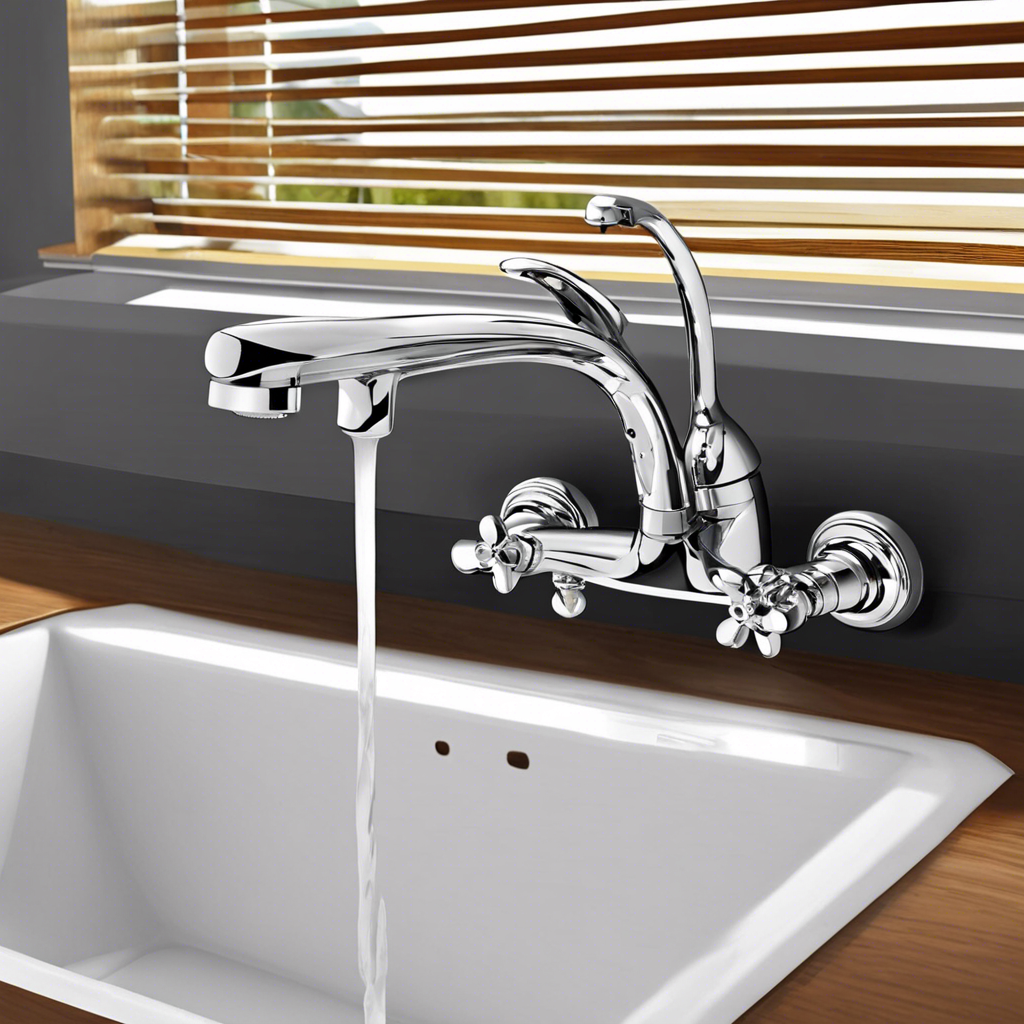
Next, identify the type of faucet you have – compression, cartridge, ball, or ceramic disc – so you can disassemble and repair it properly. A compression faucet, for instance, will have two handles and a dripping leak likely means the washer needs to be replaced. A cartridge faucet has a single handle and leaks when the O-ring is damaged. Identifying the type of leak and the faucet will help you prepare the right tools and replacement parts for the job.
Now you’re ready to begin disassembling the faucet. Start by using a screwdriver to remove the screw cover on the faucet handle, then remove the screw itself. Lift off the handle and set it aside carefully, as you’ll be putting it back on later. With the handle removed, you should now be able to see the faucet’s inner workings, including the stem and cartridge (or compression valve, depending on your faucet type). Use an appropriate wrench to carefully remove these parts, taking note of their orientation and any other unique characteristics so you can reassemble them correctly.
With the inner parts exposed, you can now identify the source of the leak and address it. Common issues include worn-out washers, damaged O-rings, or a corroded valve seat, all of which can usually be fixed with a simple replacement of these parts. It is always recommended to consult a professional plumber or hardware store expert to ensure you have the right replacement parts for your specific faucet model and problem.
Before reassembling the faucet, clean the parts you removed and apply a suitable faucet grease to provide lubrication and help prevent future leaks. Reassemble the faucet by following the steps in reverse, making sure everything is properly aligned and tightened. Turn on the water supply valves beneath the sink and test your faucet. With any luck, your leaky faucet should now be working properly, and you’ve successfully avoided an unnecessary expense.
However, if the leak persists or you’re unsure about any part of the process, don’t hesitate to contact a professional plumber. While this guide provides a general framework for fixing a leaky faucet, every plumbing situation is unique, and it’s always best to seek expert advice when in doubt. Remember, a small leak can turn into a big problem if left unattended, so addressing it promptly is key to maintaining the efficiency and longevity of your home’s plumbing system.
We hope this article has empowered you to take on minor plumbing repairs and perhaps even inspired you to explore the world of DIY home improvement further. Happy fixing!